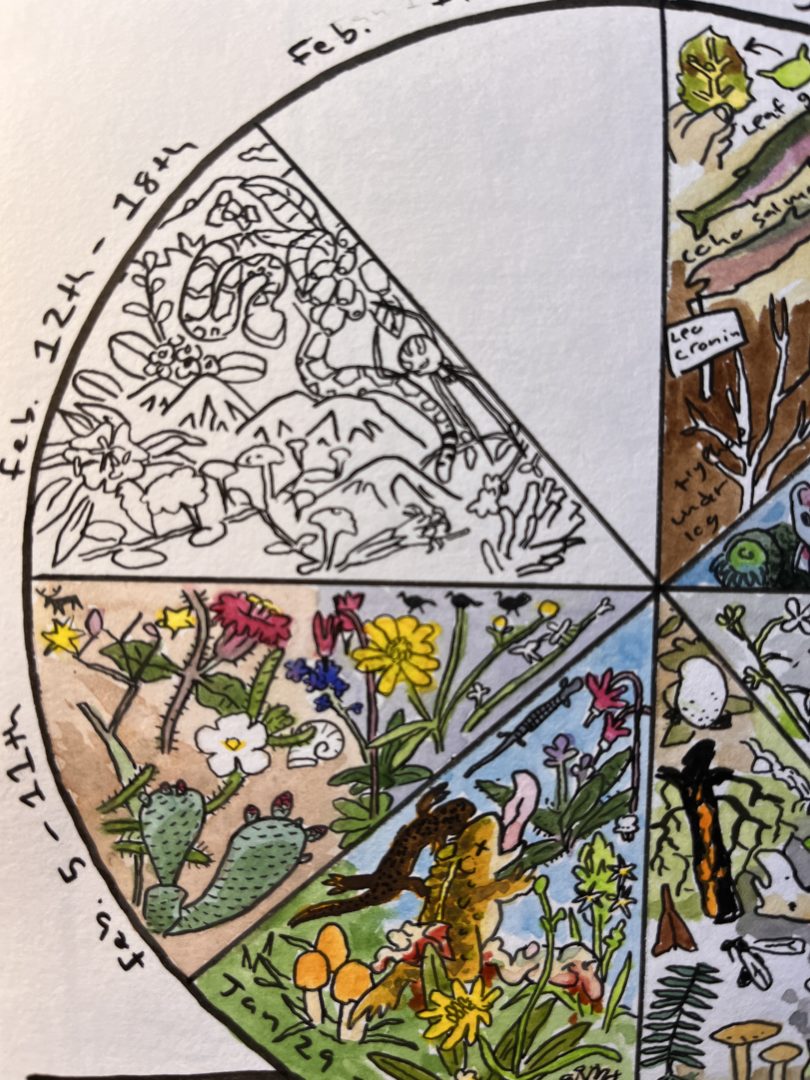
A phenology wheel can be a fun, beautiful, and fulfilling addition to your nature journal. It can also be a project from hell. Avoid the mistakes that I made and learn some key tips before you start pulling out your hair. Don’t miss the premiere of this episode on my YouTube channel.
Why Phenology?
Before you start a long and challenging art and observation project such as this it is good to reflect on why you are doing it. Here are my top six reasons to do a phenology wheel (and yes some are sarcastic).
1. First of all, it is hard to pronounce and sounds fancy to impress your friends.
2. Secondly, it gives you a fun way to pay attention to nature in one place over time.
3. Next, it is maddeningly hard to draw circles and they are the least efficient shape to fit on a rectangular page.
4. Fourth, it helps you notice seasonal changes.
5. Because it is really hard to draw inside pie slices.
6. And finally, because it makes you think about how to organize visual information on the page in a new way.
So hopefully, the positive ones outweigh the frustrating ones for you. Otherwise, this might not be your cup of tea.
What is Phenology?
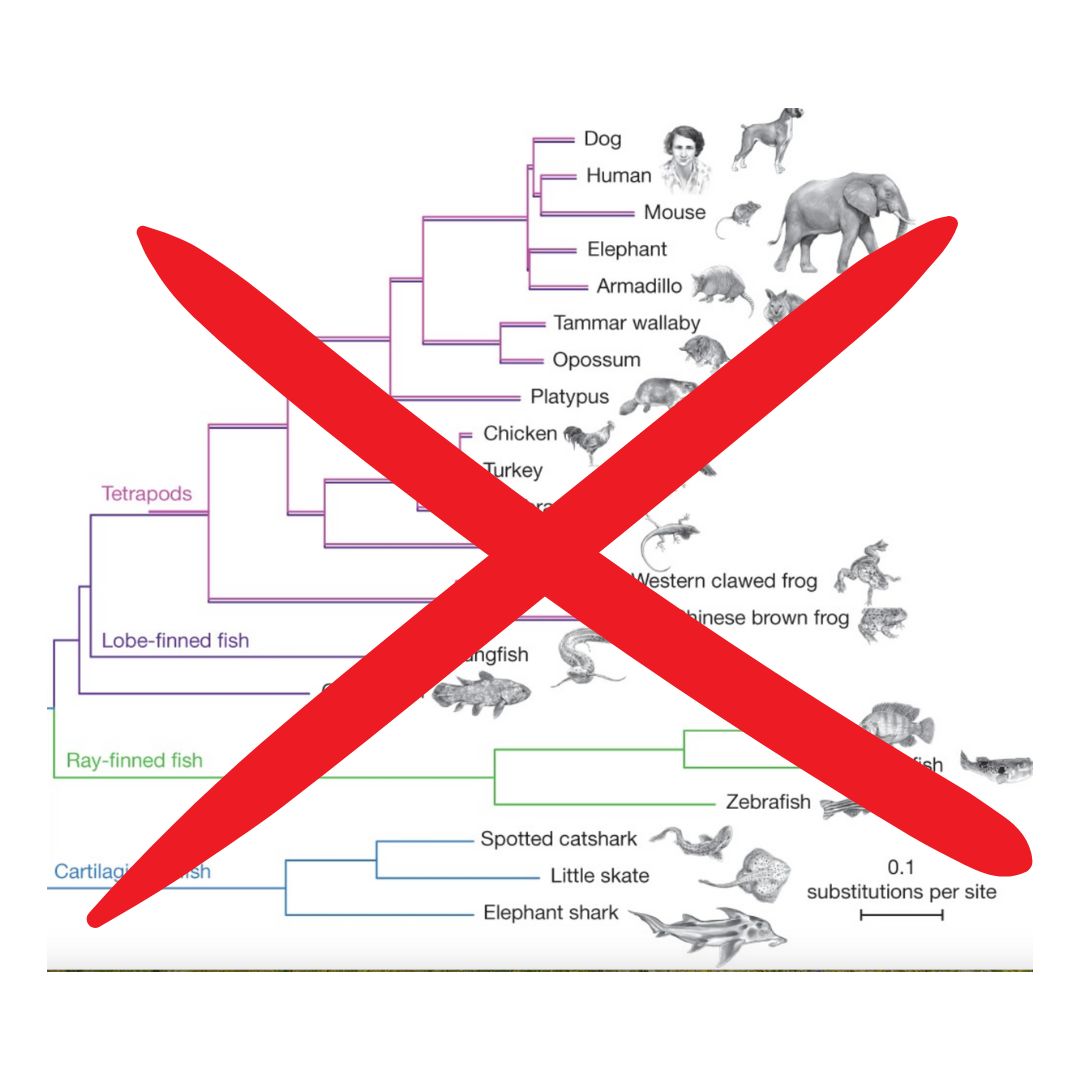
Don’t get it confused with Phylogeny which is the evolutionary history or development of an organism or group.
Admittedly, for almost 3 months I was saying Phylogeny wheel instead of phenology wheel. I will blame it on spell check which for some reason knows the obscure scientific word Phylogeny but does not know the obscure scientific word Phenology. After a few weeks of this suggested auto correct I think I started saying phylogeny.
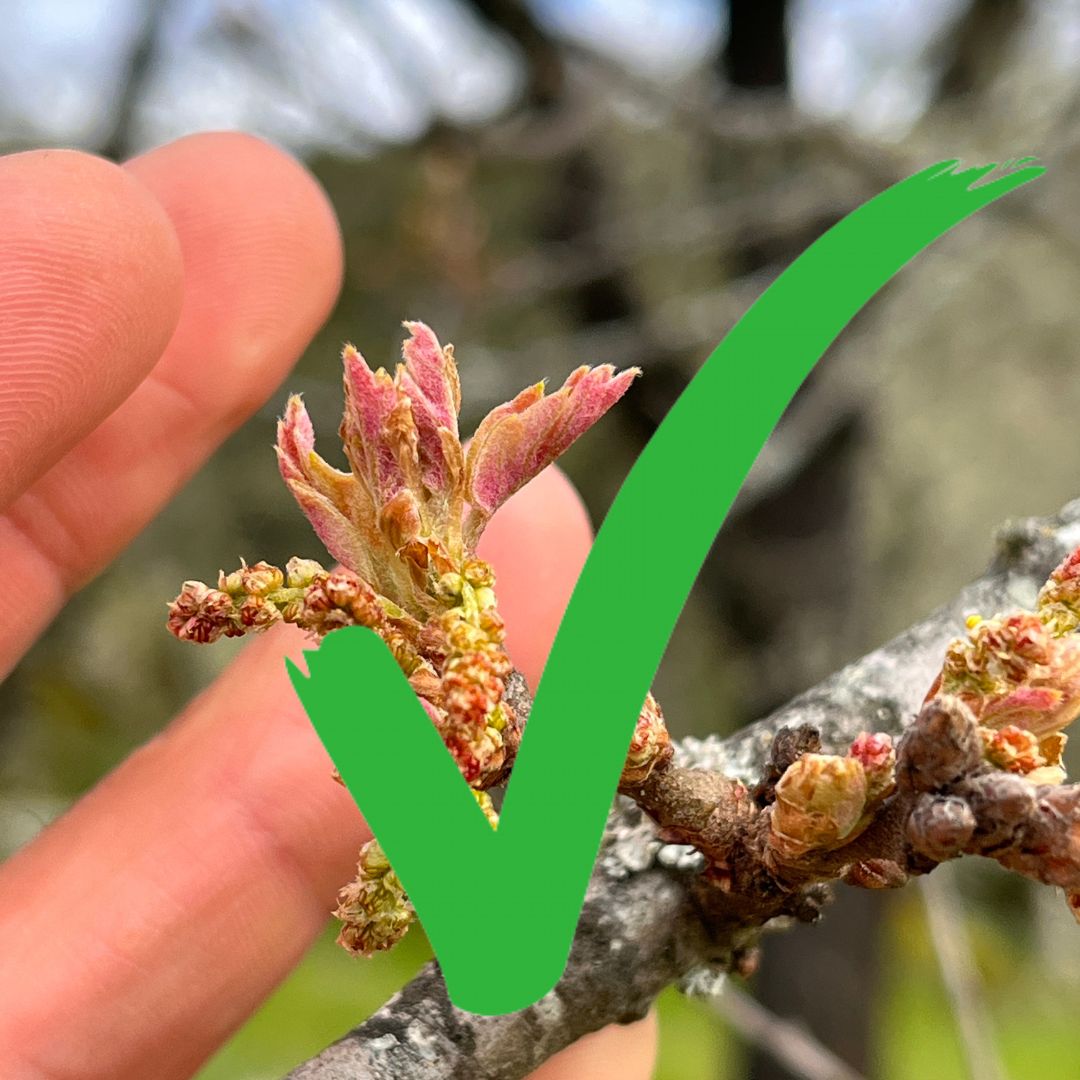
Phenology is the study of the timing of events in nature related to the seasons or the weather. Commonly, the focus is on wildflowers blooming, fruiting, etc but it could be animals or fungi also.
Why is it a Wheel?
Before you start a drawing inside a circle you should think about a few things. Because a circle is one of the least efficient shapes to draw in. In addition, it is the hardest shape to fit onto your rectangular pages. Maybe there is an alternate dimension where everybody has a round nature journal and drawing in circles makes sense. Until you move to that dimension I recommend you think long and hard before drawing something inside a circle. A circle makes sense if you are drawing something that goes round and round like the seasons.

Plan Before You Draw
Are you the type of person that likes to just start slapping down paint with no plan? If so, look away now. It is going to be a lot easier to actually complete this project if you plan in advance. I forgot to do this then realized a circle didn’t make sense for what I was doing. Here are a couple things to figure out before you start.
- What is the actual goal of the graphic? Are you trying to make a tool for observing wildflowers in your area? Or are you trying to make a cool-looking art project?
- Choose a location. Having one defined location for your phenology observations will make it much easier.
- Define a time frame. A year is the basic unit for a phenology wheel because it is a cycle. If it is less than a year a wheel doesn’t really make sense (I found this out the hard way as you can see in the video.)
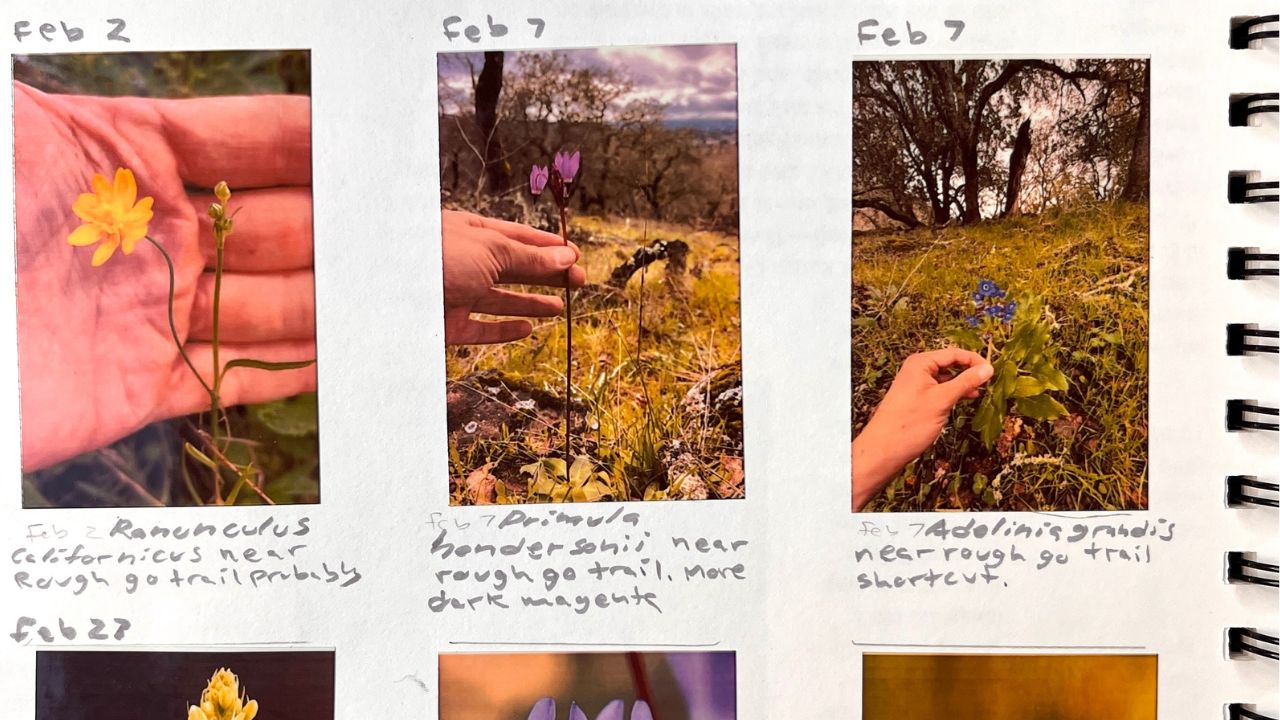
- Plan how you will collect photos. Photos are probably the easiest way to collect observations for your phenology wheel. How will you organize them and find them when it is time to draw?
- Use iNaturalist or your photo library to organize your observations. There are several ways you can use an app such as iNaturalist or your photos app to keep track. In fact, these apps could replace many of the aspects of a phenology wheel.
- Finally, you can plan to do the wheel in real time.
Doing a Phenology Wheel in Real Time
This is probably the purest and most direct way to make a phenology wheel. Unfortunately, it would never work for me. For starters you need a piece of paper that you will use for a whole year. Next, you need to be in the same spot for the whole year. You don’t have to start in January but it might help. Before you start, draw the basic layout (see below). A big circle with twelve slices is the framework. If you want you could divide the year into four seasons or even 365 days if you like self-punishment.
Once you have the basic layout done now you have to be consistent. For the next months you can basically just nature journal your observations into the slice corresponding with the date. Next month or next week do the same. Because you are doing it directly in real time you don’t have to worry about collecting and organizing your observations the way that I did.
In some ways this is easier, while in other ways it will be harder. Depending on your personality and habits you can decide what is more realistic.

How to draw the basic layout
- Use bowl, cup, or plate to draw the circles.
- Divide the circle (You can be precise about this or just guess where the middle is and start slicing like pie using a straight edge.)
- Don’t worry about precision. (Are you a recovering perfectionist? If so, this could be where the whole project ends.)
- Want to go shopping? (Don’t buy a new art tool just for this one project. It is probably just a way to procrastinate starting. Yes a compass and a protractor would be cool but how long before they are in your miscellaneous unused art supply drawer?)

Organize Your Observations before you start drawing
- Make a basic table with your dates
- Skim through your observations
- Write them down on a basic table
Tricks to Make your Phenology Wheel Easier
- Sticker printer. This might seem like cheating. However, if it helps you get over a creative block it is good. I have been experimenting with a pocket sized printer for over a year. (see the photo below for more info about it).
- Printer paper or print shop then cut out. An alternative to the sticker printer would be to print out your observation photos on your home printer or send them to a printing service. Then you can cut them all out and paste them in. This would be better than the sticker printer for large quantities.
- Very small wheel plus cartoons. Another trick would be to make a small wheel that functions as a sort of legend. Only small symbolic drawings need fit inside the pie yet these reference more detailed drawings or notes elsewhere. (Shhh, don’t tell anyone but I think this type of referencing could be rich uncharted territory for vanguard nature journaling).
- Year end review. Why don’t more people have systems for reviewing their past nature journals and sketchbooks. I interviewed the amazing Kate Rutter about it but very few people watched that episode. What if at the end of each year you create a phenology wheel type thing and then use it to review your nature journal pages from each month or each season? This method has huge potential!
- Start with just a list or table. There are a variety of ways you could create a table of observations or a photo album on your computer, or using iNaturalist. Organizing all your observations is half of what making a phenology wheel consists of. See if that is fun and fulfilling first.
But isn’t that cheating?!


Think outside the pie
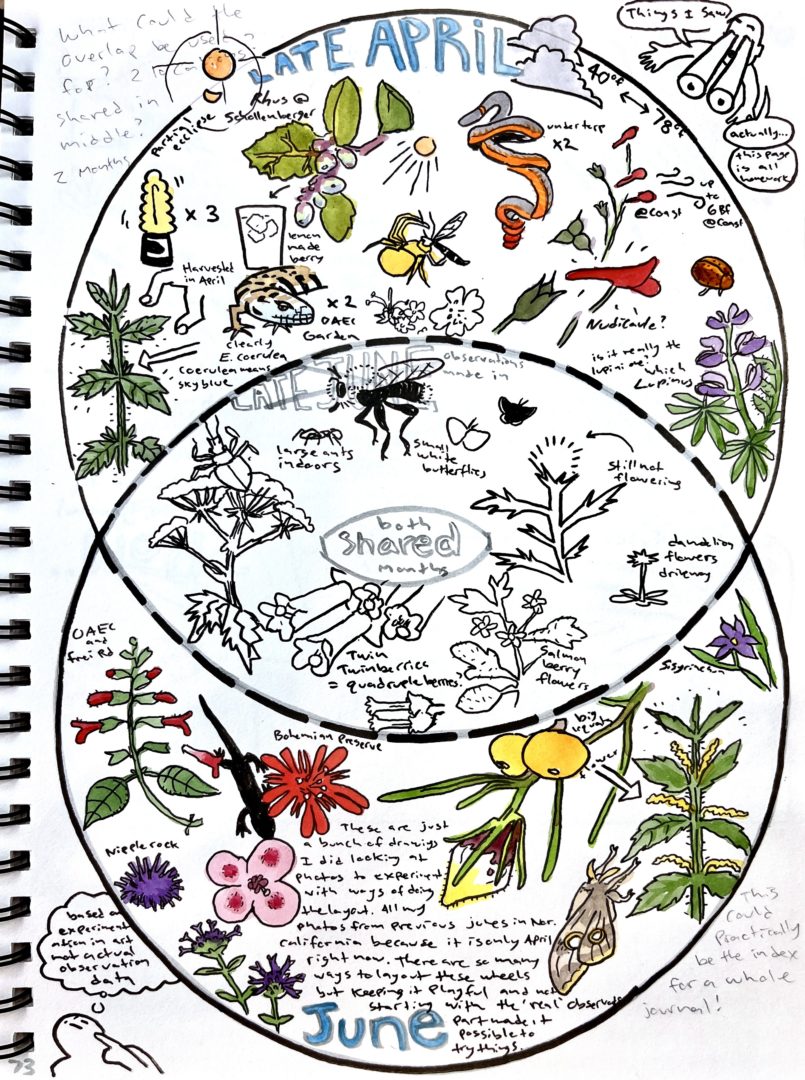
There are lots of exciting ways to think outside the box. I look forward to seeing people start making different things besides just wheels. Here are a couple ideas that I have had.
- Strips. Maybe seasonal observations could be organized into long strips. Perhaps there are good ideas in ancient pictographic cultures such as Egypt, ancient Maya, or Mesopotamia.
- Tables. What other sorts of tables or graphs could hold this information and drawings in interesting ways?
- Vinn Diagram. Could this be the solution to multiple location observations?
Some Extra Tips
- Don’t look at examples online
- Get clear about your intentions
- Choose a focus: moths, your vegetable garden
- Relationship: reptiles and weather, moths and moon, vegetables and day length
Do you still need more help getting started with nature journaling?
Regardless of your experience, we got you right here. Below are links to some super resources for beginner nature journalers.

