Why would I want to do watercolor first?
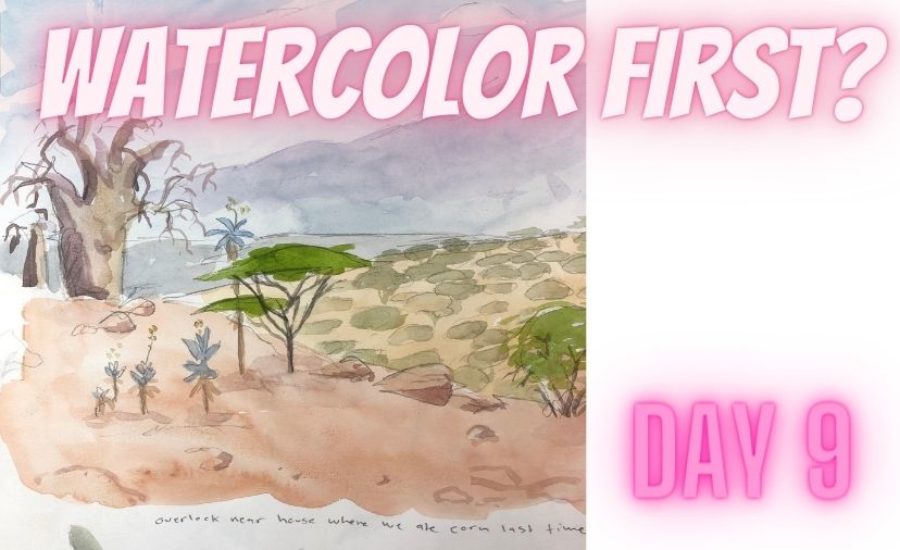
Today’s Prompt: Watercolor First
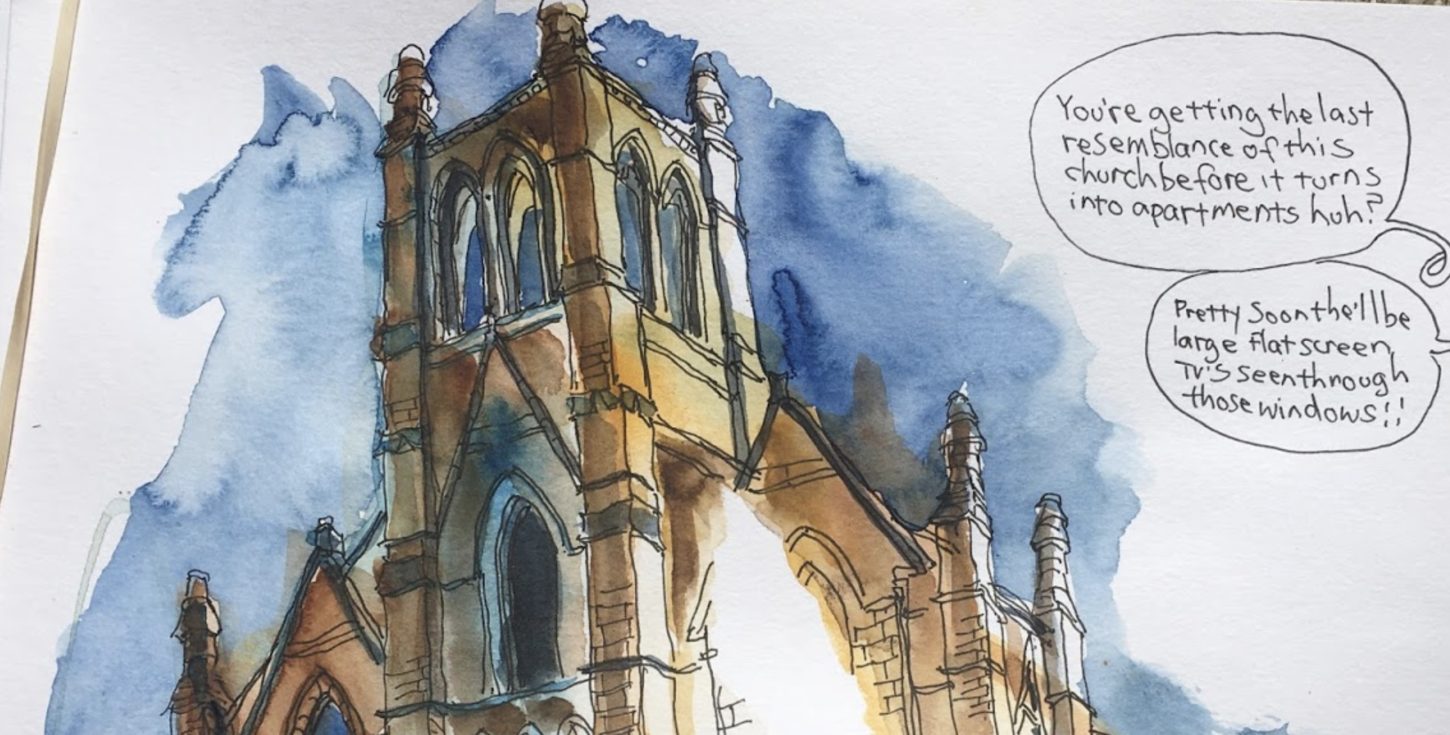
I have to admit that I never do this. I always start with the drawing. However, there is a whole school of thought behind the idea of starting with watercolor washes and then coming back and adding line work later. A lot of the ideas and tips below come from the book Color First, Ink Later by Mike Daikubara. So what are the benefits of starting with watercolor?
Some Benefits to Putting Down Color First
- Perhaps most important is just trying a different art technique. This technique will help with your open-mindedness at the very least.
- Get out of your comfort zone. Similarly to the above tip, starting with watercolor is going to put many of us in an uncomfortable place. This is a good practice for artists and teaches us flexibility and flow.
- Thirdly, Happy accidents. I usually don’t like this expression that I think is attributed to Bob Ross. However, it does apply to watercolor. Because of how watercolor works there are many things that happen outside of the artist’s control. This is most noticable in wet on wet techniques. These effects can be maximized if you start with the color.
- Finally, when we draw first our watercolors often fall under the tyranny of the lines and we adopt an almost “coloring book” approach. This can lack dynamism.

How to do it
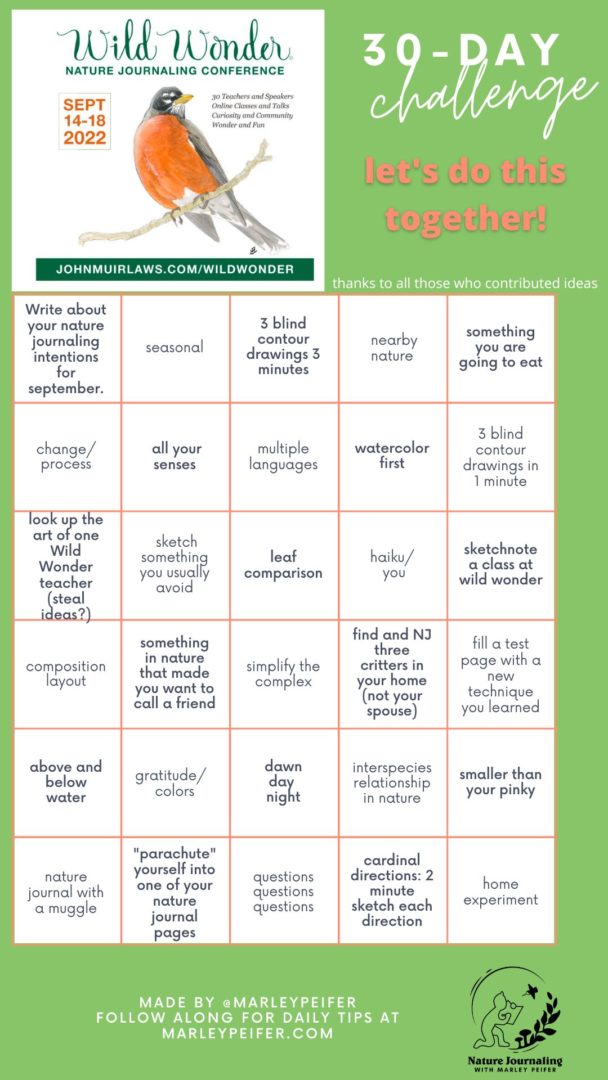
First of all let’s keep this simple. If you are doing the 30 day nature journaling challenge then the most important thing is just doing the prompt and checking off the box! We don’t want to get overwhelmed or lose our daily momentum now! So let’s choose a subject. Something not moving and in a place where we can sit relatively comfortably. A tree, boulder, or a landscape would be good.We will probably need thirty minutes at least.
- Mix up a limited palette of colors that match with your subject. Prepare big washes of each color on your palette.
- Using a wet brush apply the washes to general areas of color on your page. For example: sky, ground, trees. Leave whites for highlights (leave alot)
- Next, have fun with a little wet on wet technique. Also try tilting your paper up and playing with dripping.
- Now you must patiently wait for it all to dry.
- Come in with your drawing tool, preferably ink and add lines. They don’t have to match the color edges perfectly. Try to stay loose. You don’t have to outline everything. Keep looking at your subject.
- Use a smaller more precise brush to add some more color and details if necessary.
- Experiment with flicking color onto the page. Use sparingly!
Downsides to Starting With Color
- It is slower.
- It is messier.
- You might need more tools such as a traditional watercolor brush, water container, and heavier paper.
- You probably need to be sitting.
- Only do it in places where you can be comfortably and safely for an hour or so.
- Less precision. Sometimes a good thing, sometimes a bad thing.
But what if I’m completely new to nature journaling?
Regardless of your experience, we got you right here. Below are links to some super resources for beginner nature journalers.
Are you just getting started with Nature Journaling?
Here are tips and motivation for beginners.
Where is the 30 day challenge?
If you missed the beginning you can still jump in now. Here is the complete guide.

If you want a PDF for printing: 30 Day Challenge Wild Wonder Nature Journaling
